Import contacts to Outlook
Applies To: Outlook for Office 365 Outlook 2016 Outlook 2013 Office for business
Outlook has an Import/Export wizard that makes it easy to import contacts from a CSV file.
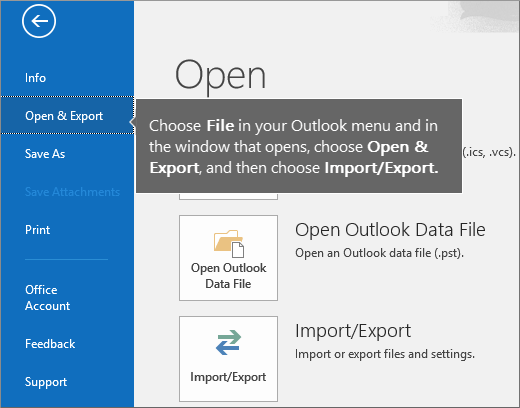
- At the top of your Outlook 2013 or 2016 ribbon, choose File.
If your ribbon doesn’t have a File option in the top left corner, you’re not using Outlook 2016 or 2013. See What version of Outlook do I have? to get to the import instructions for your version of Outlook.

- Choose Open & Export > Import/Export. This starts the wizard!
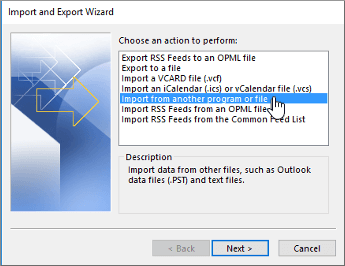
- Choose Import from another program or file, and then choose Next.
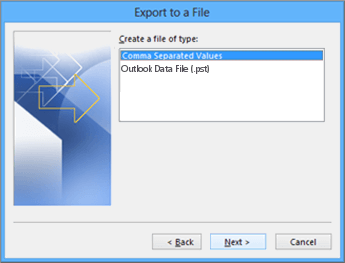
- Choose Comma Separated Values, and then choose Next.
- In the Import a File box, browse to your contacts file, and then double-click to select it.
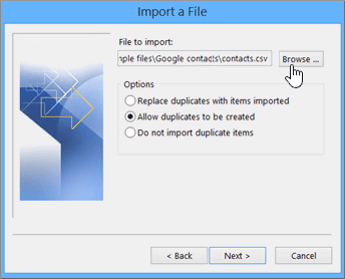
- Choose one of the following to specify how you want Outlook to handle duplicate contacts:
- Replace duplicates with items imported If a contact is already in Outlook and your contacts file, Outlook discards the info it has for that contact and uses the info from your contacts file. You should choose this option if the contact info in your contacts file is more complete or more current than the contact info in Outlook.
- Allow duplicates to be created If a contact is in Outlook and your contacts file, Outlook creates duplicate contacts, one with the original Outlook info and one with the info imported from your contacts file. You can combine info for those people later to eliminate duplicate contacts. This is the default option.
- Do not import duplicate items If a contact is in Outlook and your contacts file, Outlook keeps the info it has for that contact and discards the info from your contacts file. You should choose this option if the contact info in Outlook is more complete or more current than the info in your contacts file.
- Click Next.
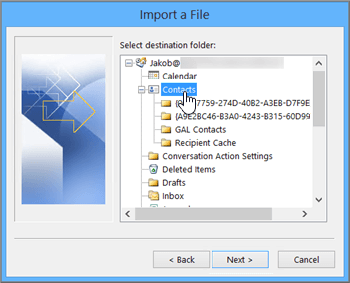
- In the Select a destination folder box, scroll to the top if needed and select the Contacts folder > Next. If you have multiple email accounts, choose the Contacts folder that’s under the email account you want to be associated with the contacts.
- Choose Finish.
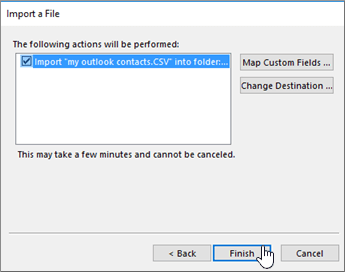 Outlook begins importing your contacts immediately. You’ll know it’s finished when the Import Progress box closes.
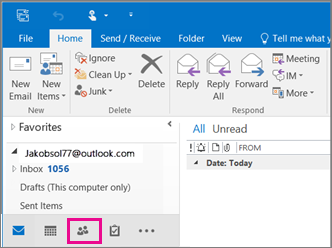
 - To see your contacts, at the bottom of Outlook, choose the People icon.
